Cabinet success
Well, I was able to get out to the garage for a bit of work on the Philco 70 today - no mean feat, with all of the other stuff that goes on around here. The goal for today was to see if I could separate the arch from the front of the cabinet. The arch is actually set into a groove, so this is a tricky project. I was advised to knock out the glue blocks, and use wet rags & an iron, to produce steam.
Knocking the glue blocks out turned out to be a lot more difficult than expected. I had to steam them for quite a while, and even then, I took a chunk of the front out when prying the blocks off with a chisel. After a LOT of steaming, I finally got the arch out of the groove. In the process, the layers on the back of the front (how do you like that description?) started to come apart from all of the steam. So I put some glue on a thin piece of wood, and worked it underneath, clamped it for a couple of hours, and that took care of that. I did lose a bit of veneer on the outer rear of the front, but I'll just have to deal with that later.
Here's what I've got now:


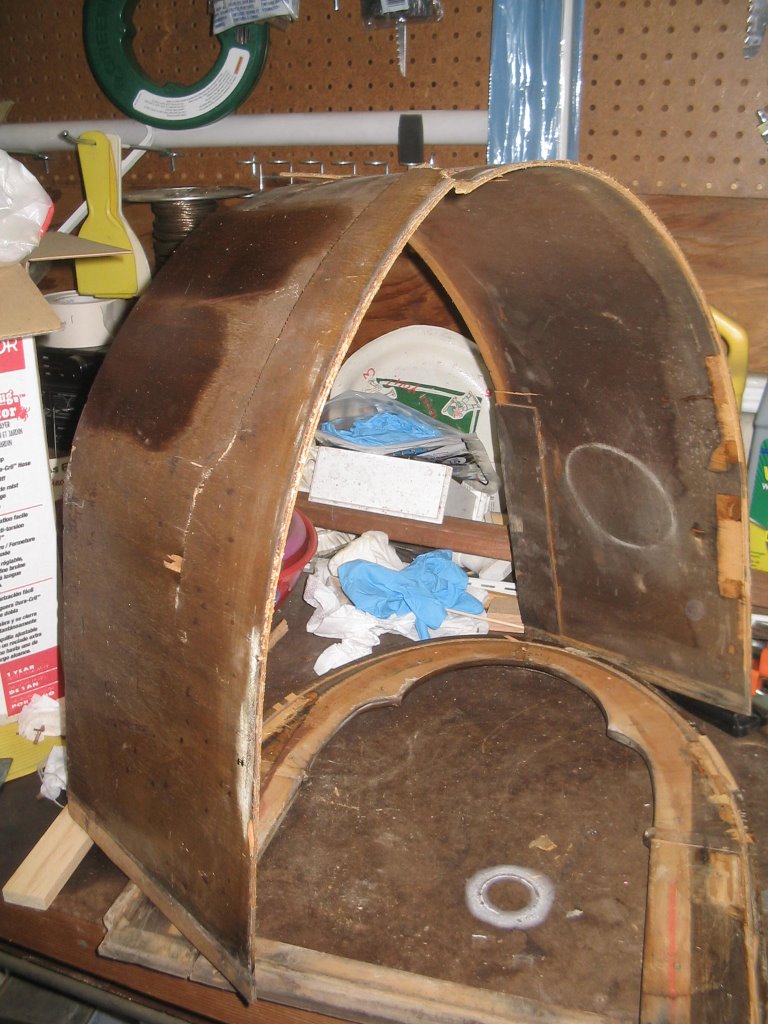
You can see that the veneer on the front is damaged - I did that the other day. I'm not sure if I should be upset about that, since it was pretty bad to begin with, so I'm kind of assuming that I will be re-veneering pretty much everything. While the veneer on the old arch is pretty sad, I do plan to save it in case it will come in handy later.
You might notice some splotches on the arch. That's where I was playing a bit with the finish. It's still old & cracking, but I thought I'd see what happens if I clean it up and use some Restor-A-Finish. It definitely helps, but it's far from a complete restoration of an old finish. Maybe another coat or 2 might help, but I'm just playing right now.
I experimented a bit with the new flexible plywood, to see if it will fit in the groove. While the old arch looks like it had the veneer glued on first, and was then glued into the groove, the new plywood looks like it will barely fit, before any veneer. In fact, I may have to widen the groove a bit, or shave down the edge, to make it fit. I figure that by putting the veneer on afterwards, it might help with the rigidity. The only problem is that I think I'm going to need a lot more clamps to do this job.
So I think I will have a bit of a challenge ahead, getting the new arch into place. But before I do that, I need to trace the outline, so that I can make up a new rear arch support. I also plan to start stripping the old finish, and probably the veneer too, at least the stuff on the front. It really is in pretty sad shape, so I don't feel so terrible about taking away the originality.
I do plan to try to stick to the original veneers that were used, which as best I can tell, are mahogany for the arch, and walnut for the front. Then some toning lacquers to get the right coloring.
Earlier, I promised some pics of the chassis, so here you go:


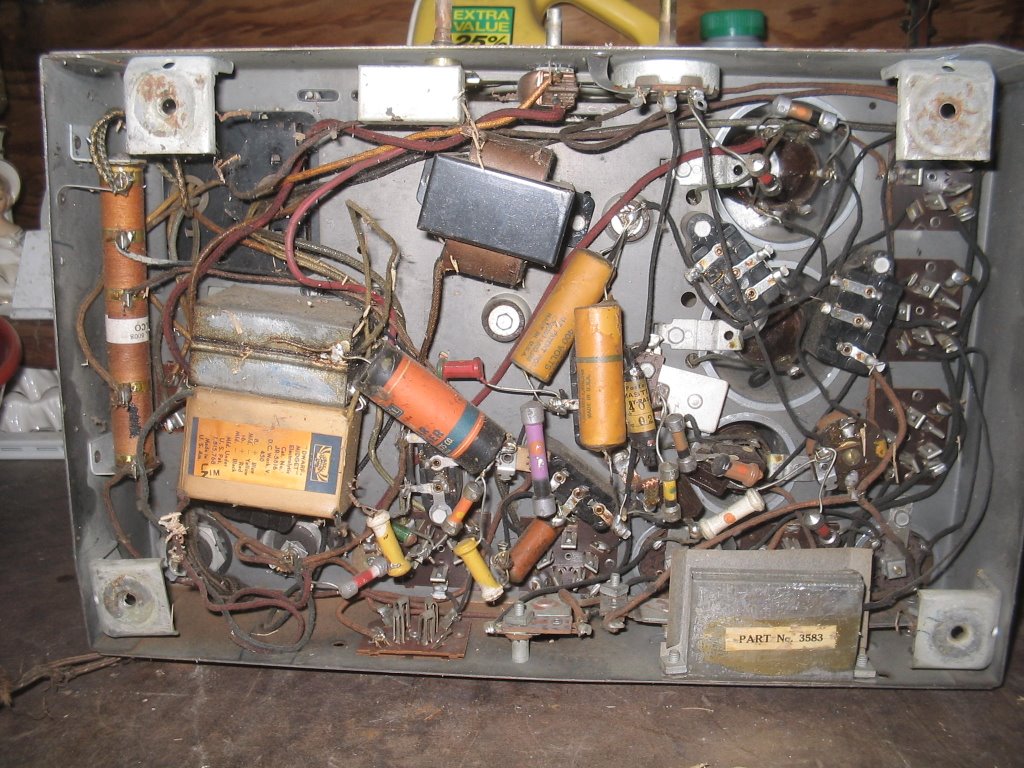
To tell you the truth, I don't even know where to begin with this chassis. There looks like so much work to do. On the one hand, it's tempting to do what I'm doing with the cabinet, and just tear it down to its pieces, and rebuild it step by step. Unfortunately, I don't have any confidence that I would be able to put it back together properly. So it seems like I'll have to just do it a bit at a time, pulling off only as much at one time as I think I can remember how to reassemble.
There's so much rust here that I will need to attack. The chassis, the condenser cans, and worst of all the variable capacitor. Well, I recall one person on the ARF who said that he likes to restore the cabinet first, because then it will sit there, telling you "hey, what are you waiting for? Get that chassis finished and installed already!". That may be the way to go here. I'm trying not to bite off more than I can chew. I already know that this is going to be a very long project, with many periods of time where nothing gets done. So I try not to start something that I know I'm not going to be able to finish. Eventually I'll get there. It may take a long time, and may not look like a professional restoration, but I do hope that I'll be happy with the result.
posted by Brian Leyton @ 9:28 PM
0 comments
![]()

0 Comments:
Post a Comment
<< Home