Metal & wood
Well, I'm making slow & steady progress. Since the last post, I have spent a lot of time gluing and clamping. I re-glued the missing piece of veneer on the front arch, and it looks pretty decent. I finished stripping the front arch, and I removed the damaged veneer from the middle-front panel. Once the veneer came off, it became apparent that there was some damage to the speaker grille. I wound up removing chunks of the wood, and reglueing them. It looks a lot better now, and everything is much tighter and more solid. I do still need to replace some missing veneer on the outer backside of the front arch, but I think I can salvage some veneer from elsewhere to use for that. The veneer that came off is very thin and brittle. I think it will only be useful for patching small areas. I did strip the lacquer off though.
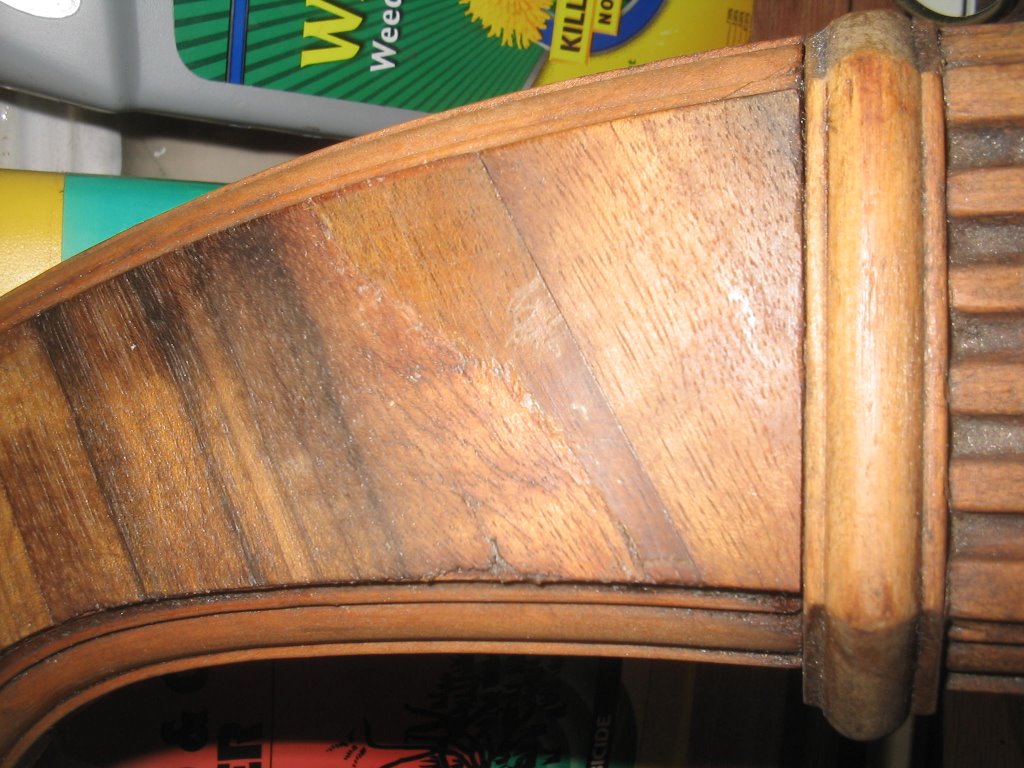
Here's a picture after patching the veneer. It actually looks better now, since I stripped the lacquer off of the patch. I still need to use wood filler to fill some small areas, and then stain them to match. I sure hope I can make them match well.
Before I can start re-assembling the cabinet, I need to get over to Harbor Freight and pick up some more clamps. They have pipe-clamps for $4 that I think will work really well (the same kind of clamps are like $12 each at Lowes). I already have one of these, but I want 2 more. I bought the pipe, now I just need the clamps.
Once I get the cabinet back together, I want to try staining the body to see if it will be acceptable. If not, then I'll need to order some veneer.
Meanwhile I've been working on the metal parts. I used naval jelly to remove the rust from the tube shield. This was nerve-wracking, because I'm trying not to damage the paper labels. I mostly succeeded in this.

I also repainted the transformer housing with some black Krylon I had laying around. This came out really nice - maybe too nice. I may knock down the gloss with some steel wool later.
Last night I painted the speaker basket with some medium gray Rustoleum:
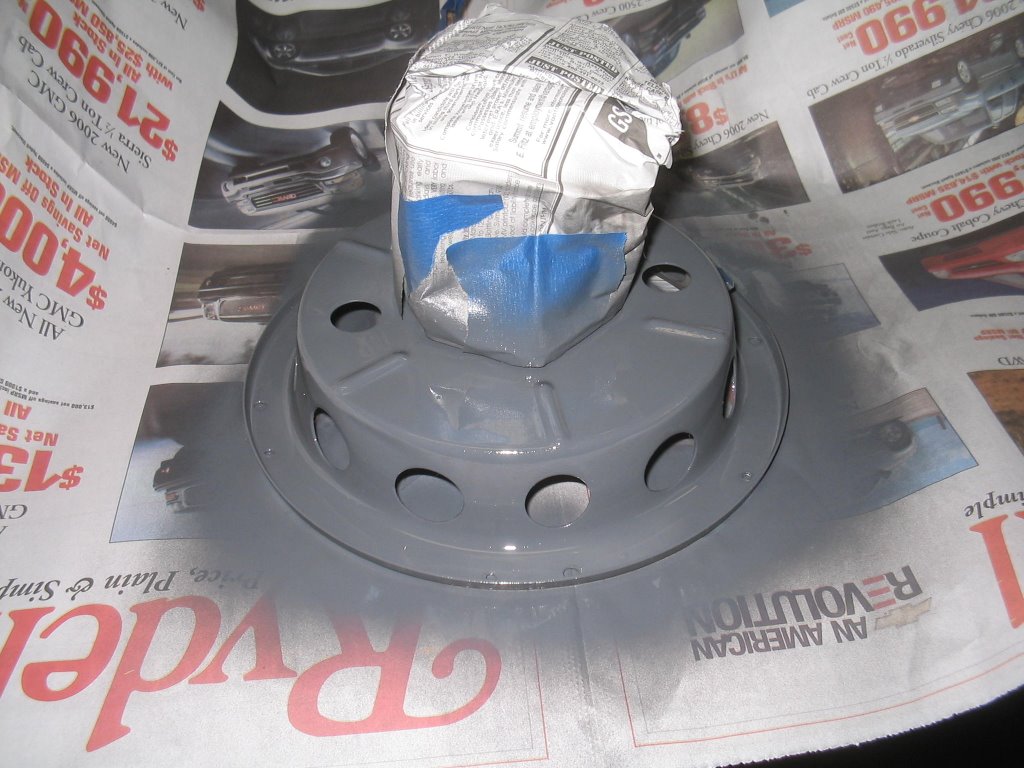
The color match was good, and it looks nice. I'll probably want to knock down the gloss there too. I still need to paint the inside of the basket and then repaint the audio transformer black. I think I'm going to leave the magnet housing alone. I don't think it will look good painted.
The next step - aside from the cabinet work - will be to start removing the rust from the chassis. I think I'm procrastinating a bit on the actual electrical restoration. The underside of this thing is a lot more complicated than the AA5 and the Silvertone farm radio that I've previously recapped. Plus I will need to restuff the bakelite block capacitors and probably replace some resistors as well. I haven't decided yet if I want to try to make replicas of the dogbone resistors. I've seen some websites with details on how to do it, but it looks like a lot of work.
I'm afraid to use naval jelly on the chassis, because it's tough to get into the nooks & crannies without getting it into places I don't want it to go - like tube sockets. I started sanding with some 220 grit sandpaper, and the rust comes right off, so I think I may just do it that way.
posted by Brian Leyton @ 9:18 AM
0 comments
![]()

0 Comments:
Post a Comment
<< Home